trust your gut

image(5)

Generally, if you sense that something is wrong—I’m not just talking about in the kitchen, I’m talking about life here—that means something is wrong.

Like when I was being fitted for a bridesmaid dress last week and, yep, just like in the movie, my face started to sweat. I was going to vomit. I was going to vomit, and the seamstress was chatting gaily about the importance of Prayer Warriors and the inner-workings of freemasonry while pinning the bottom of my dress.

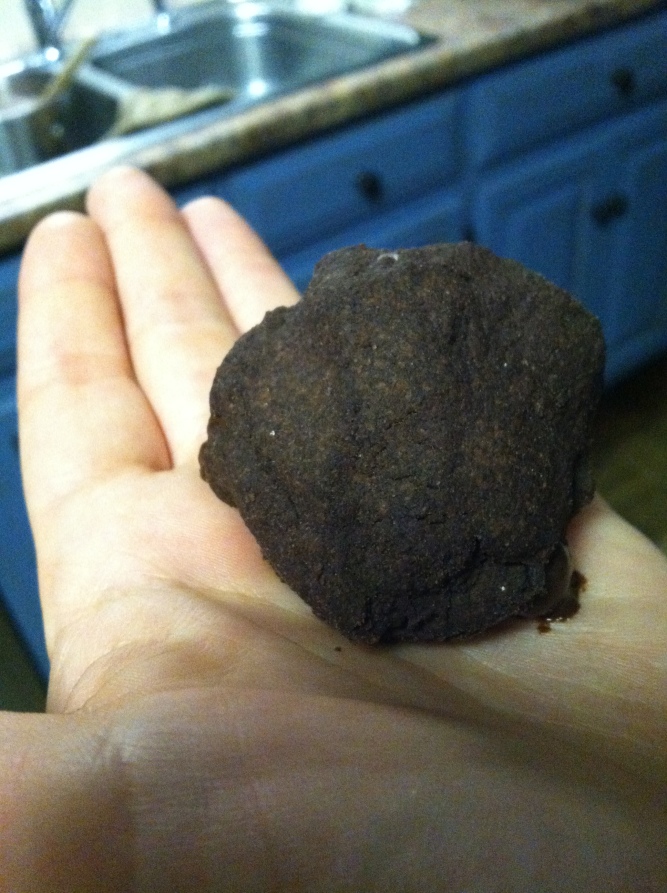
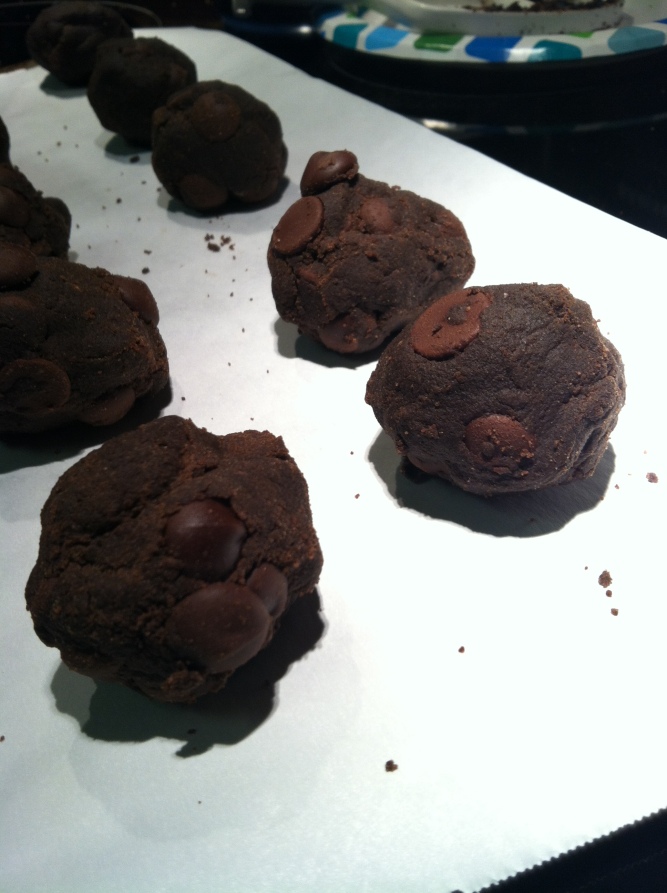
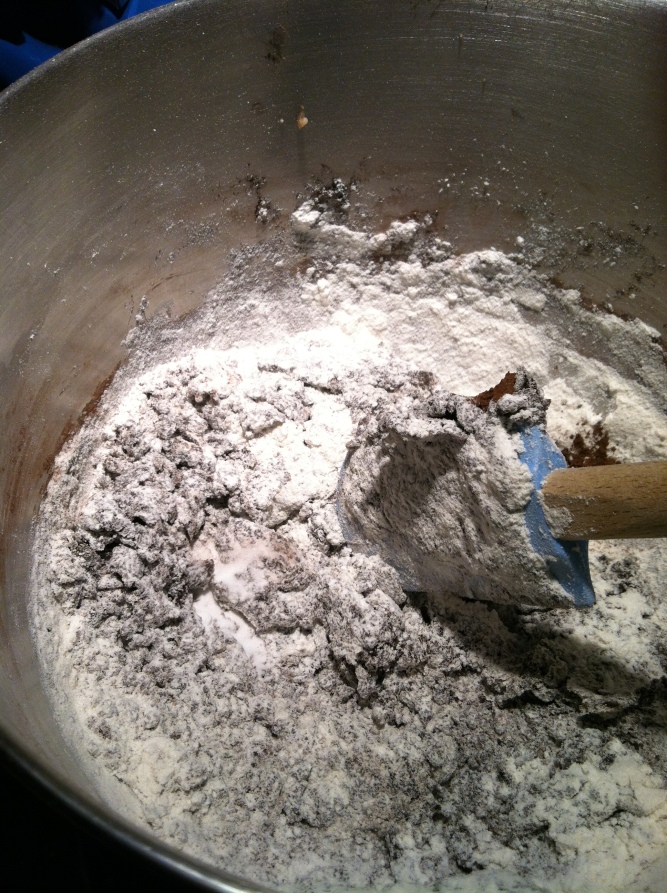
That was a literal gut feeling, but you have to trust figurative gut feelings, too. While I was making these cookies several weeks ago (I know, I need to be more diligent about updating this thing), I kept thinking, hmm. Batter isn’t supposed to look like clumps of dirt, and, Well, these balls of cookie dough feel like boulders, but I’m sure they’ll spread out just fine. Oh, that one’s crumbling. Happens all the time, let me just add some water or something…

image(1)

In school, I was the kid who didn’t read the directions at the top of the page. That tendency carried over into my adult life.

Pudding cookies, y’all. Such lovely words to see side-by-side. I had to make them. So I went to the grocery store and got me some pudding. Just, you know, a generic box.

Here’s what you’ll need:

• 1/2 c butter, softened
• 2/3 c brown sugar
• 1/4 c white sugar
• 1 tsp. vanilla
• 1 egg (have you ever tried to crack an egg and ended up smashing the insides everywhere like a manic person? Sometimes I’m glad that I live alone)
• 2 tbsp. Hershey’s special dark unsweetened cocoa powder
• 1 box instant chocolate pudding mix—3.5 oz. Here is where I went wrong. I added 6.5 oz. All pudding boxes are not created equal. Remember that, if you remember nothing else.
• 1 tbsp. water
• 1 c all-purpose flour
• 1/2 tsp. baking soda
• however many chocolate chips you feel compelled to add. I used one bag of Ghiradelli dark chocolate.

image(2)

Using an electric mixer with a paddle attachment—good thing I was visiting home—cream the butter and sugar, then add in the vanilla and egg. Add in whatever else. Add in the chocolate chips. Seriously, how detailed do I have to get.

The source blog says to chill the dough for four hours if it hasn’t been formed into balls, and two hours if it has. Well, since that’s an INSANE request—sorry—I chilled mine, in balls, for about 45 minutes. Balls. To. The. Walls.

image(3)

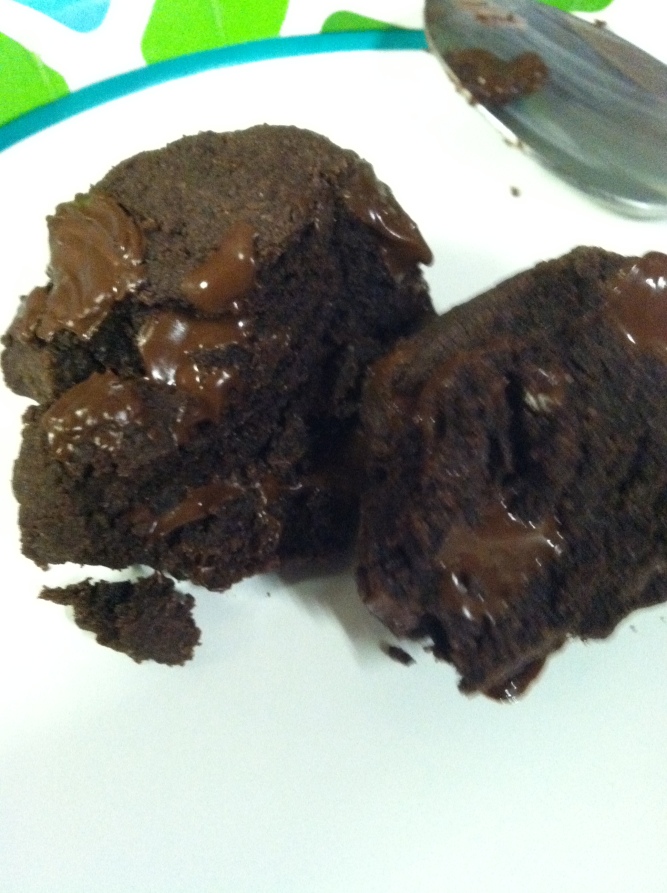
The source blog also noted that the dough would spread if not chilled long enough. I did not seem to have that problem. These cookies resembled literal lumps of coal and crumbled as soon as you took a bite like they were made of sawdust. Appetizing, right? I’m such a good food writer.

So, trust yer gut. And read directions. Those are my life lessons.

  • 1/2 cup butter, softened
  • 2/3 cup brown sugar
  • 1/4 cup granulated sugar
  • 1 teaspoon vanilla
  • 1 egg
  • 2 tablespoons Hershey’s Special Dark unsweetened cocoa powder (or you can use regular unsweetened cocoa powder)
  • 1 box (3.5-3.8 ounces) instant Hershey’s Special Dark Pudding Mix (or any instant chocolate or chocolate fudge pudding mix, not sugar-free)
  • 1 tablespoon brewed coffee or water
  • 1 cup all-purpose flour
  • 1/2 teaspoon baking soda
  • 1 1/2 cups Hershey’s Special Dark chocolate chips, divided (or any dark chocolate chip or chopped extra dark chocolate bar)

Read more at http://www.crazyforcrust.com/2014/03/triple-dark-chocolate-pudding-cookies/#bvjMPIjktORos642.99

  • 1/2 cup butter, softened
  • 2/3 cup brown sugar
  • 1/4 cup granulated sugar
  • 1 teaspoon vanilla
  • 1 egg
  • 2 tablespoons Hershey’s Special Dark unsweetened cocoa powder (or you can use regular unsweetened cocoa powder)
  • 1 box (3.5-3.8 ounces) instant Hershey’s Special Dark Pudding Mix (or any instant chocolate or chocolate fudge pudding mix, not sugar-free)
  • 1 tablespoon brewed coffee or water
  • 1 cup all-purpose flour
  • 1/2 teaspoon baking soda
  • 1 1/2 cups Hershey’s Special Dark chocolate chips, divided (or any dark chocolate chip or chopped extra dark chocolate bar)

Read more at http://www.crazyforcrust.com/2014/03/triple-dark-chocolate-pudding-cookies/#bvjMPIjktORo
The Many Magical Wonders of Kale

Resolution: to be more self-disciplined.
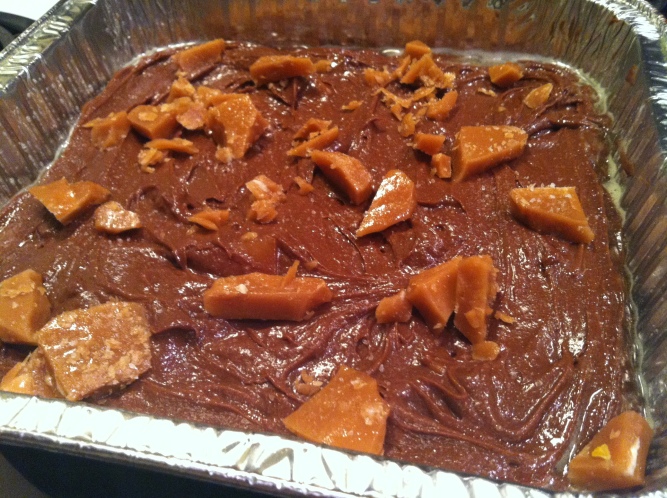
photo-43

I know I haven’t posted in a while, and, well, I don’t really have any good excuses. I could say something super compelling, like that I’ve been backpacking through Europe for a month with nothing but a knapsack, a cat, and a notebook and post poorly Photoshopped pictures of myself rifling through brass beetles and sea glass at the Ecseri flea market in Budapest, or that I got hired at VICE magazine in New York and had to move immediately and am currently blogging from some tiny NYC apartment where the walls are yellow with old nicotine, or that I met an ethereal French woman who convinced me to elope with her before the new year.

But really, I’m just kind of lazy.

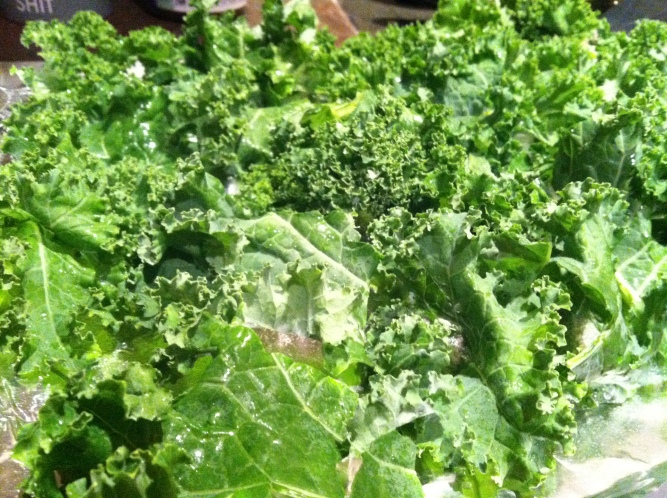
Resolution 2: to eat healthier. At this, I’m doing an okay job. One of the things I eat about twice a week is kale. I know, I know—it’s totally en vogue and trending with foodies everywhere. But it really is A) good for you, loaded with vitamins C, A, K and a bunch of minerals, and B) pretty darn tasty. I have a low tolerance for gross-tasting health foods. I enjoy food. And I enjoy kale. There, I said it! I’m drinking the Koolaid! (I’ve never really understood what that meant…)

Before I get into food business, here’s a video I made that’s somewhat relevant to the topic at hand:

Curiosities for Sale from Sarah Brooks on Vimeo.

Kale is like a cheap and desperate whore—you can pretty much do whatever you want to her, and she’ll still put out. So far I have:

• Used pre-washed, pre-chopped, frozen kale in smoothies (Oh, she sounds like a real douche now) (I know that’s what you’re thinking) (Or maybe I’m just insecure)
• Sauteed kale
• Made kale chips
• Ate it raw but was unenthused

photo-42

photo-45

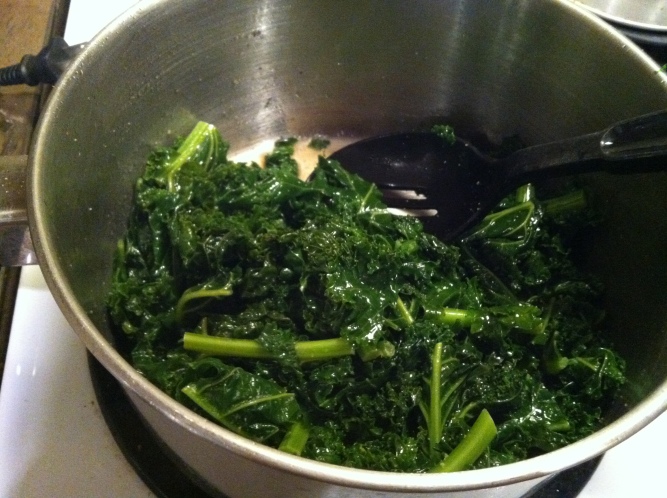
My favorite thing to do with kale is to saute it. Takes about -30 seconds and is so easy that your great aunt who lives alone and is blind in one eye could do it.
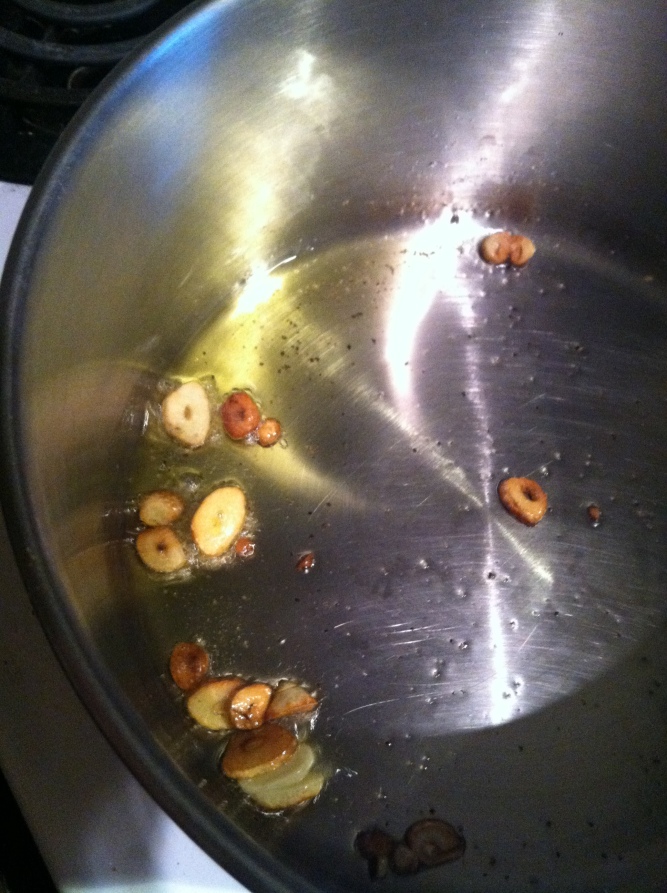
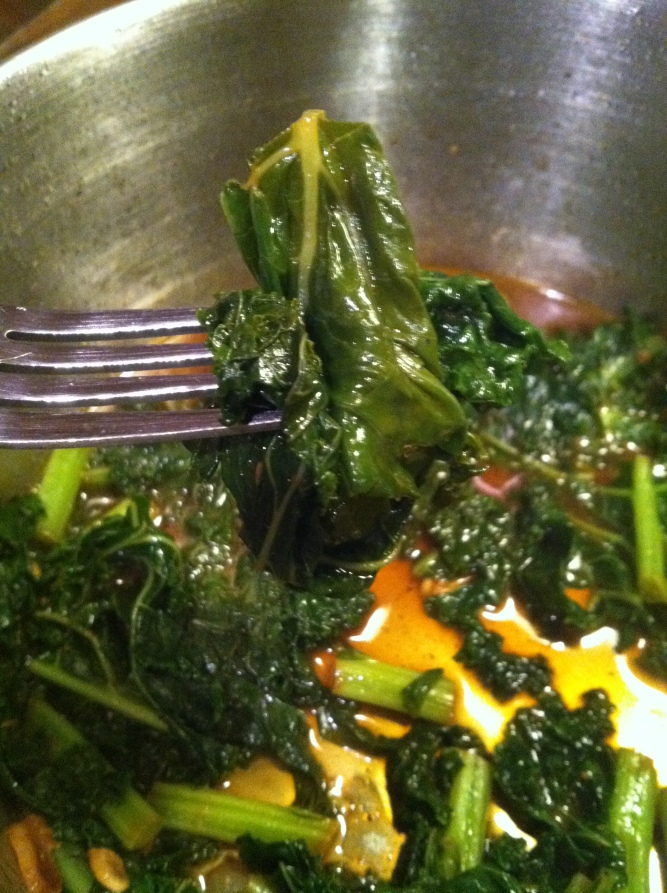
First, heat up some olive oil and sliced garlic in a big ol’ pot over medium heat. Before the garlic gets too hot, add in as much chopped, washed kale as possible, and then just kind of add in however much vegetable broth feels right. (OK, maybe like, half a cup? For one bunch of kale.) Cover it for about seven minutes. Once it gets wilty, stir it up and add many enthusiastic splashes of red wine vinegar. Boom, done.

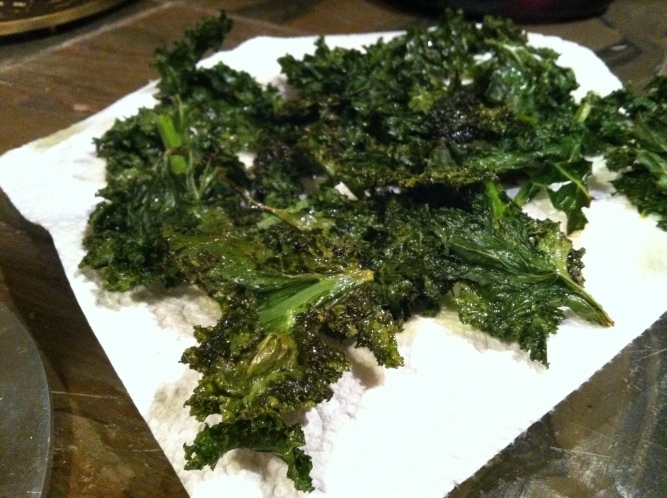
How about chips made of kale? Don’t make the same mistake I did and assume that they’re going to taste like ass. This led me to salt them liberally so that they just tasted like I was licking one of those Himalayan salt rocks. Salt them a little bit, then taste them and feel free to add more. You can flavor these however you like, but I tend to stick with sea salt.

photo-44

With the sauteed kale, you can use the whole thing, stem and all. With kale chips, just pull off the leaves. Wash, pat dry, and lay out on a sheet of parchment paper or foil that’s layered over a baking sheet. Drizzle with olive oil (is there such a thing as using too much olive oil? I literally use it multiple times a day) and salt and bake at 350 degrees for about ten minutes. Keep an eye on ’em as they’ll burn quickly.

See? Easy as pie, and almost as tasty. Well, not really. But way better for you.

photo-46

Next time: I will prepare an overview of all the items I’ve pulverized in my new NutriBullet. I feel myself becoming obsessed, and I’m OK with that.

pie so sweet you’ll slap it right out of grandma’s fat mouth

photo-30

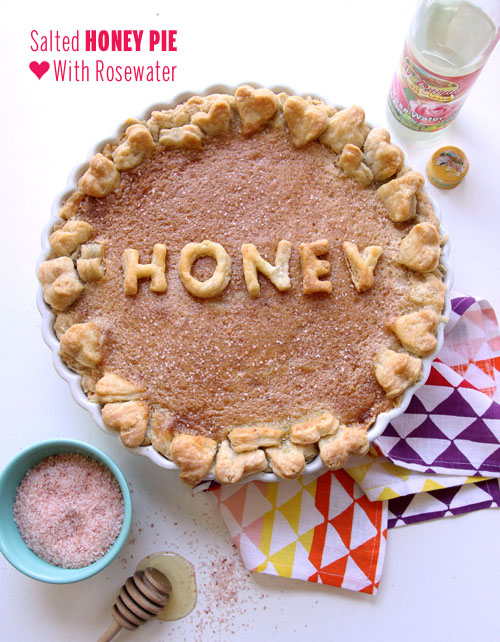
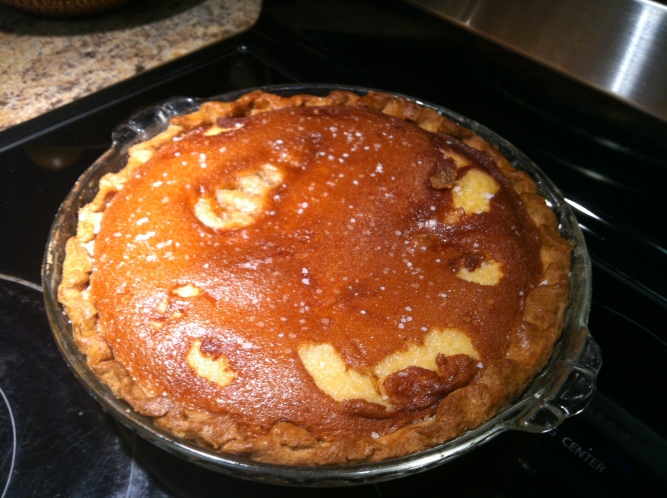
“Honey pie” is not just a grotesque term of endearment—it’s also an actual thing that you can bake. I found a recipe on Pinterest for salted honey pie with rosewater and was charmed. I mean, how poetic, right? Forager bees steal nectar from flowers and then vomit it into their hive, where it sits for a while and becomes honey. What better way to encapsulate this magical process than within a pie?

SaltedHoneyPie

via the blog Take a Megabite

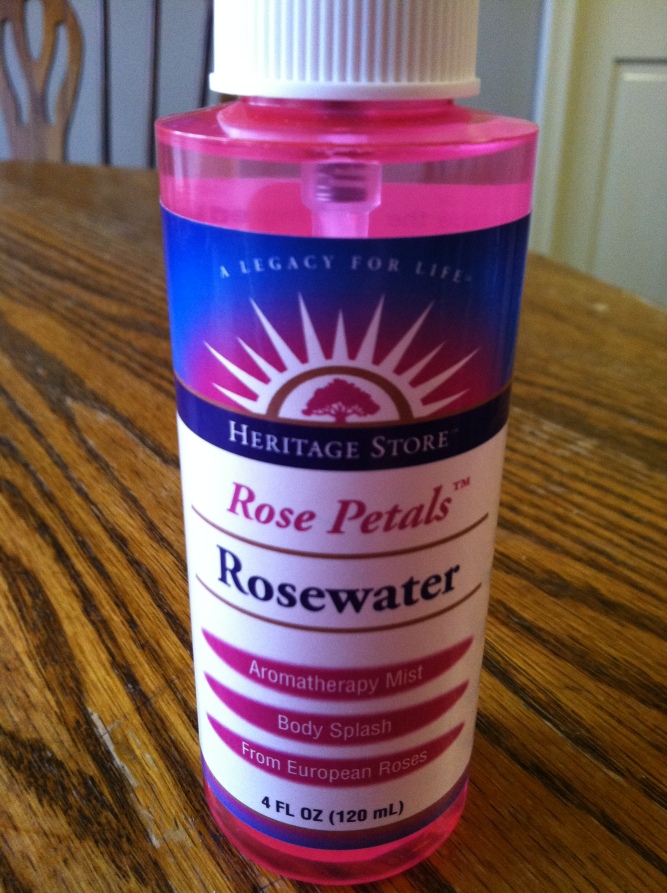
Locating the rosewater was tricky. I did not find it at any grocery store or pharmacy. I contemplated making it myself (all you have to do is boil rose petals), but then I realized that would make me the biggest asshole ever. So I checked out the pretentious capital of the world, a.k.a. Whole Foods, and found some in the aromatherapy section.

photo-40

Hmm. I wasn’t sure if it was safe for consumption, so I scanned the ingredients list:

Ingredients: Vor-mag Water (water that has been vortexed and magnetized to raise the energy to a higher vibration that we believe to be more beneficial), and Rosa Damascena (Hydroessential Rose) Flower Oil.”

So, rose oil and water with magical powers. Sold. I told my brother about the magic vortex water in the pie crust, and he said, “Diarrhea isn’t a magical power.” Well, you can’t be too sure.

This recipe calls for every possible formation of sugar and fat, so it tastes kind of good in the same way sucking a sugar cube tastes kind of good, until your teeth start to hurt.

photo-37

Here’s what you’ll need:

Crust
• 2 1/4 c flour (I’m at my parents’ house for Thanksgiving, and they only had whole wheat flour, so that’s what I used. Consider this the “healthy” version!)
• 2 tbsp. sugar
• 1/4 tsp. cinnamon (I might add a little more—I couldn’t taste it)
• 1/4 tsp. kosher salt
• 1 c butter, i.e. 2 sticks, cut into teeny tiny pieces “the size of a pea” (I warmed mine first so it would blend better. Don’t do this. Cutting warmed butter is the opposite of easy. It sticks to the knife blade and turns into giant blobs. Am I handicapped?)
• 1 tbsp. rosewater (I added about a tbsp. and a half, to amp up the magic)
• 7 tbsp. ice water
• egg wash for glaze (this is just an egg white whisked with water)

Filling
• 3 eggs
• 1/2 c heavy cream (ooh, it’s gettin’ nasty in here)
• 3/4 c sugar
• 3 tbsp. cornmeal (I had to ask what this was at the grocery store…)
• 1/2 c melted butter
• 2 tsp. white vinegar
• 1/2 tsp. kosher salt
• 3/4 c honey (I made sure to use local honey…does it seem like I’m becoming more and more of a douche bag?)
• 1 tsp. vanilla
• kosher salt for sprinkling on top of the pie (the source blog calls for “pink sea salt,” but obviously I’m not taking it that far)
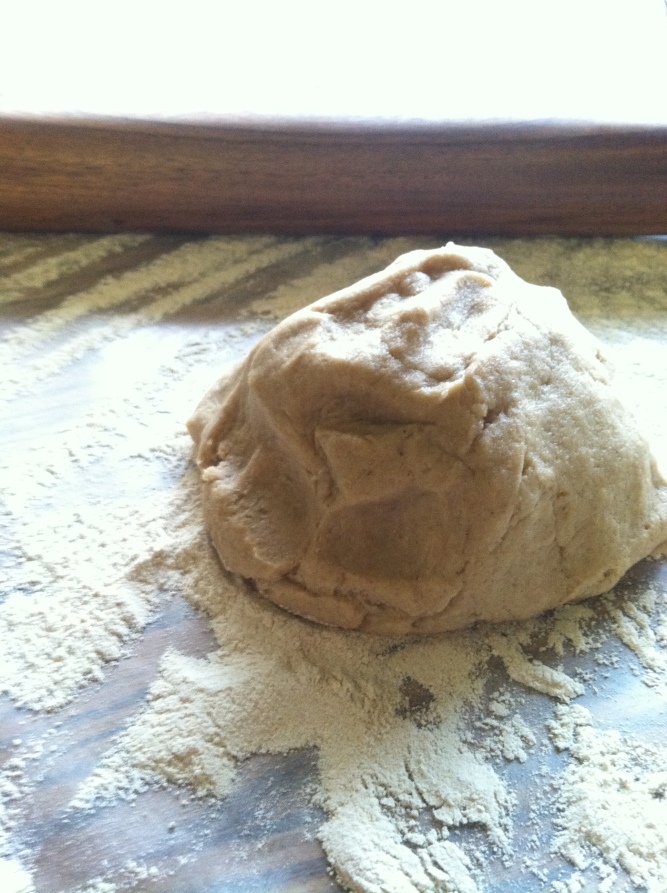
Mix together all the dry ingredients for the crust, then add in the little pieces of butter—or, in my case, the giant melty blobs—and blend. Add in the ice water and rosewater gradually. At this point I used my hands to knead the dough into a homogenous lump.

photo-38
Roll the dough out onto a floured surface, like wax paper taped to a table. Roll until it’s about 1/4 inch thick, then sprinkle it with more flour and gently fold it in half (my brother taught me this trick). Carefully lift the dough onto your greased pie pan and lay it atop the rim, then unfold it. The flour should prevent it from sticking together. Pull off excess dough and save it to make “cute shapes” that are really just a waste of time, as you’ll see in a minute. Crimp the dough, or make little hearts or whatever the hell you want to do with it.

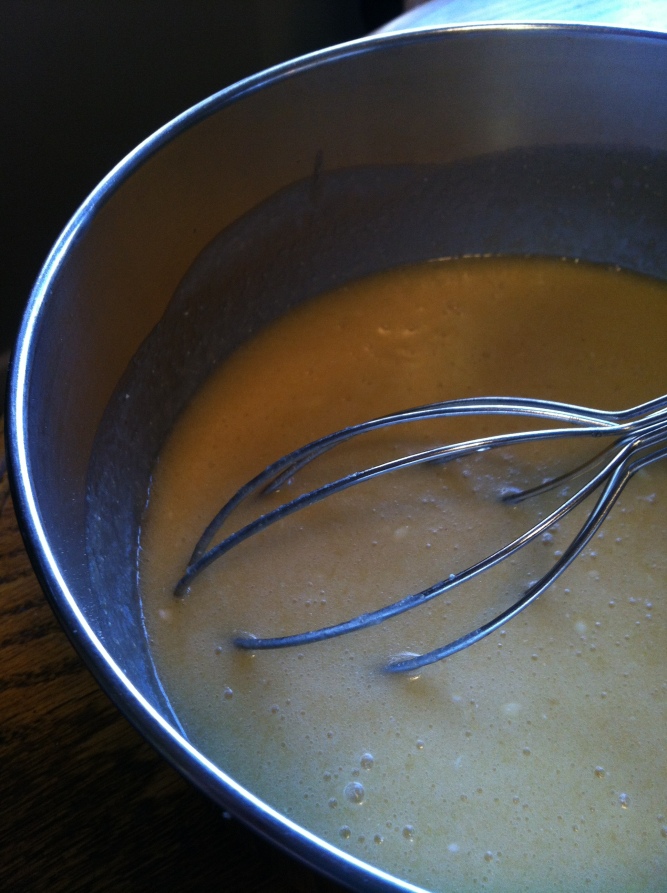
For the filling, whisk together the eggs and cream in one bowl, then add in all of the other ingredients in a separate bowl. We want to dirty as many dishes as possible during the holidays. Add the egg and cream mixture into the other ingredients slowly. Brush your egg wash over the crust (which you may want to chill for a few minutes. I don’t know why, just do it), pour the filling inside, and top it with fun shapes. Inspired by the “honey” label adorning the pie from the original recipe, I decided to make a tiny hive and two bees out of leftover dough. They looked OK pre-bake.

photo-39
Swiftly, they sank into the pie filling as if it were quicksand. Some of the hive stuck out, just enough to look really weird and like a mistake.

photo-36
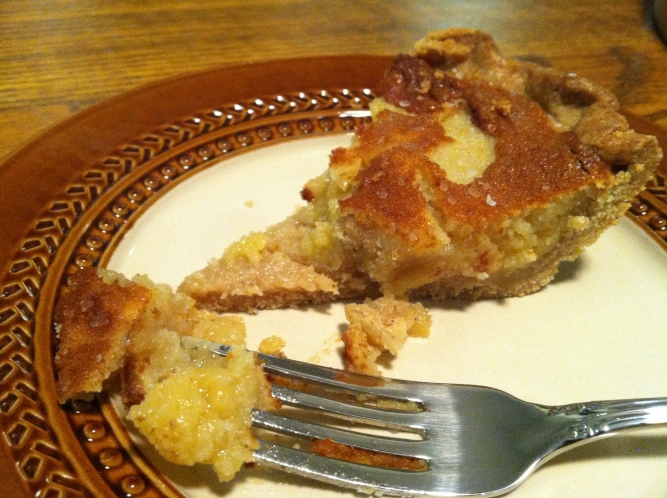
Bake the pie at 350 degrees for about 45 minutes. The middle of the pie will still jiggle when you pull it out of the oven, but once you allow it to cool for a couple of hours, it will set up nicely. Sprinkle generously with salt, and enjoy a future of diabetes!

french fried friendsgiving

photo-26

Whenever I have a Friendsgiving (for those unfamiliar—like Thanksgiving, but with people you actually enjoy spending time with) to plan, I always opt to make green bean casserole. Why? Because it’s probably the easiest thing you could possibly make, aside from shaking cranberry gelatin out of a can, and it tastes like what Jesus would have for breakfast.

At least, the first few bites do. Then you start to feel kind of nauseous, but you just have to keep eating because it’s Thanksgiving and we love America.

* * *

Here’s how the classic and ubiquitous green bean casserole was invented back in the early 17th century:

Squanto: Hey, Pilgrim Joe. Happy…Thanksgiving.

Pilgrim Joe: That’s an interesting word. I like it.

Squanto: Cool. Once you finish burying that fish with all the corn kernels, I have a question for you.

PJ: What’s up, man?

Squanto: OK. So I have a bunch of green beans, and I’m not sure what to do with them. Let’s play a game. How do you think we could turn something relatively nutritious into the most unhealthy and nutritionally void food imaginable?

PJ: Uh…add smallpox?

Squanto:

PJ: Hey, man, I’m just messing with you. I would say, like, deep fry them and mix them with—I don’t know, condensed milk?

Squanto: That sounds disgusting. But I was thinking about the next closest thing. We could fry some onions until they can no longer be classified as such, add them in and then top it all off with heavy cream.

PJ: Holy crap. I think you’re on to something.

* * *

And so it was: essentially, the first Friendsgiving. Now grocery stores sell everything pre-cooked and pre-fried in cans to make it even easier for us. No growing or harvesting—just pull the top off the can and viola.

photo-17

Here’s what you’ll need:

• A couple cans of condensed cream of mushroom soup (I literally have no idea how they manufacture this)
• A couple cans of pre-cooked, cut green beans
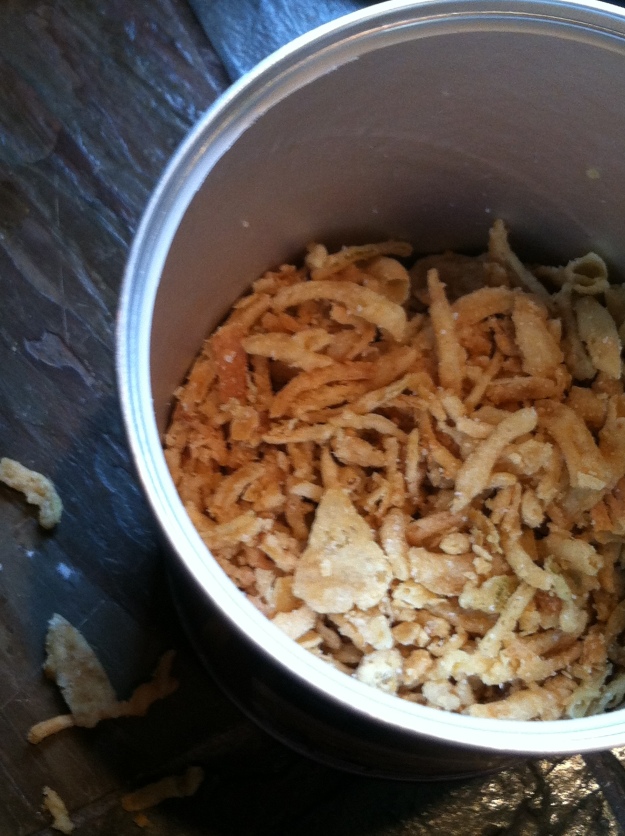
• One of those big ol’ cans of french fried onions
• Some salt, black pepper
• 1/2 c milk (I used soymilk…should still be OK, right?)

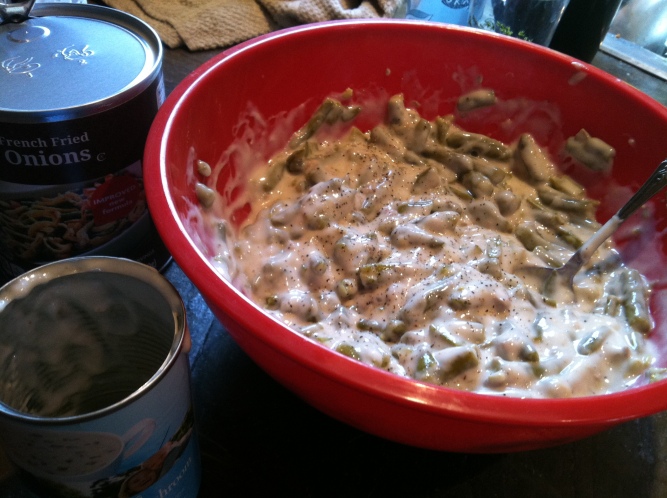
Mix together the green beans (drained, obvi), the mushroom soup (I used one full 10.75 oz can and half of another one, so about 15 oz total), the milk, and some salt and pepper to taste. Then add in, like, half of the onions.

photo-29

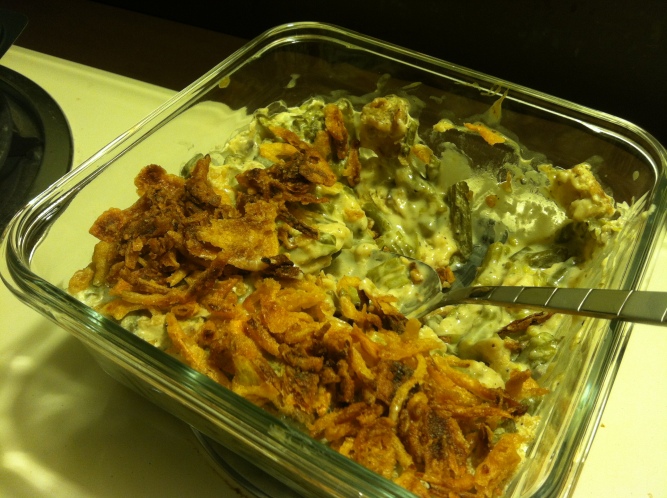
Pour into a casserole dish and bake at 350 degrees for about 25 minutes. I’m not sure what baking does since everything is pre-cooked; I even tasted it before I baked it, and it was pretty much the same afterwards, only warmer. Pull it out, sprinkle on the remaining onions, and then bake it for another 5 minutes or so, until the onions on top are crisped. I mean—more crisped. Browner. Or, you can do what I did and just wait until one of your friends calls out from the kitchen, “It smells like burning.”

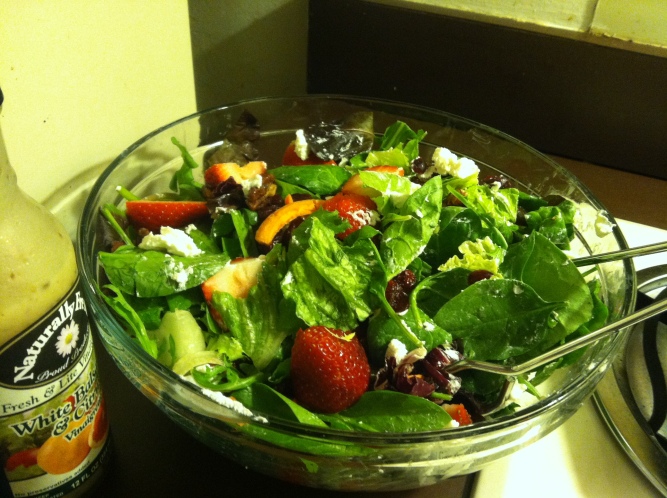
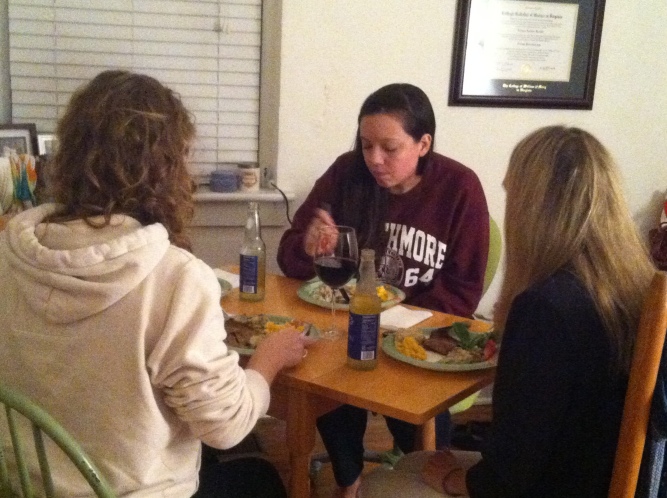
To compensate for the unhealthiness and sodium content of the casserole, I whipped up a salad with all my fave salad ingredients: baby spinach, goat cheese, pecans, craisins, strawberries (note: spinach and strawberries are two foods that you want to try to buy organic because they usually have the most pesticides. I know, this is a departure from my usual focus on not burning things), and blush wine vinaigrette. We also had mac ‘n’ cheese, potatoes, and beef for the carnivores.

photo-27

Happy Friendsgiving to all! My family recently started a turkey-frying tradition where we submerge the bird in scalding-hot oil, and all the men sit around it outside drinking scotch and smoking cigars and talking about how cool it is to fry a turkey. My mom stays inside and talks about how the turkey will probably explode and decimate everything within a 5-mile radius.

I’ll keep y’all posted.

photo-28

when life gives you lemons, pour wine in your ice cream

ICECREAM3

Let me give you a little taste of what my life has been like lately. (Hint: not sweet and delicious, like the Riesling ice cream I made. That’s right, folks. I’m a fucking gourmet.)

A couple of weekends ago, I had an atypical Saturday that has somehow set the tone for all the days that followed. I saw my ex in the morning for the first time since our breakup and decided to go out that night to try to cheer up.

Somehow, my friends and I ended up at a horror-themed pub aptly named “The Crypt,” because it is where all civility and fun goes to die. There are about five cops lined up at the entrance in case someone tries to shoot/rape someone else.

We grabbed drinks—something sticky-sweet, bright red and full of bubbling dry ice, called the “Franken-berry”—and hit the dance floor. I don’t think “hit” is the right verb here—maybe, “slid between gyrating drunks who were carelessly slinging beer all over the floor.” I started dancing among the mob, and it wasn’t long before a stout, middle-aged Asian man found me and grabbed me around the waist.

These days, this is how we are courted. Men grab at us and thrust in a pseudo-rape fashion. It’s like we’ve regressed back to the days of cave-people.

photo c/o wheretoeatsavannah.com

photo c/o wheretoeatsavannah.com

I looked over at my friend and made my eyes as wide and panicked as possible. No—they were already like that. She, bless her heart, asked her dance partner if he had any friends who needed a girl to dance with.

“Yeah!” he replied, grabbing a pasty-white, lanky guy with a fuzzy, albino-translucent mustache and black clothing.

Oh, surely. Surely this man has a dance partner. Surely.

He quickly moved behind me and began thrusting against me like a dog stupidly mounting a pillow: all inane animal desire. I looked around in a panic. Any lesbians? Friends? Hello?

Anyone?

And then it happened. Mega-boner, I kid you not. He was literally raping me with clothes on. I could feel it poking me over and over again, expectantly.

OK, I thought. Drawing the line. Here’s the line. My anemic dance partner has totally surpassed it.

I pushed my way through the crowd, tears running down my cheeks. I was a little drunk, and a lot emotional. I glanced over at an androgynous midget, who casually cupped my ass before passing. (WHAT? WHAT.) I thought, This is actually a nightmare, and I’m never going to wake up.

Once I made it home around 3AM, I passed out and woke up two hours later to the sound of a female screaming. I wondered if it was my subconscious, but then I realized it was coming from next door. It was my neighbor getting laid.

The next morning, someone canceled plans with me for the second time, and I spent the day writing papers I had put off until the last minute.

So, what’s the point of all this? Well, if you’ve ever had a day like mine, there are two things you absolutely need: ice cream and alcohol. I decided to kill two birds with one stone by combining the two. Yes, fuck yes. Now let’s get down to business.

I screwed up the first batch because my ingredients curdled. I think it happened because I added whole eggs and not just egg yolks. So, if it looks like this, i.e. like baby vomit, toss it out.
Here’s what you’ll need:

• 1 3/4 c heavy cream
• 1 1/4 c whole milk
• 1 bottle Riesling (or any other sweet wine)
• 1/4 tsp. salt
• 6 egg yolks
• 1/2 c sugar
• A friend or family member with a Kitchen Aid and ice cream attachment

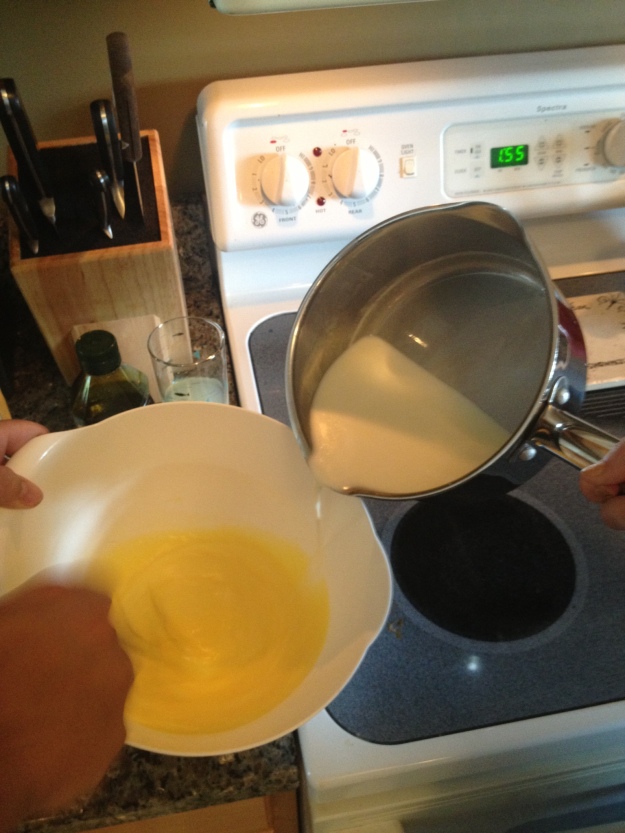
Put some pans/dishes/whatever in the freezer. You’ll pour the ice cream mixture into these to cool it down quickly and freeze it before mixing it. Blend your cream, milk, and half of the sugar in a pot over medium heat. In another pot over high heat, reduce a cup of wine down to about a fourth of its size. Reducing it will capture the flavor of the wine.

ICECREAM2

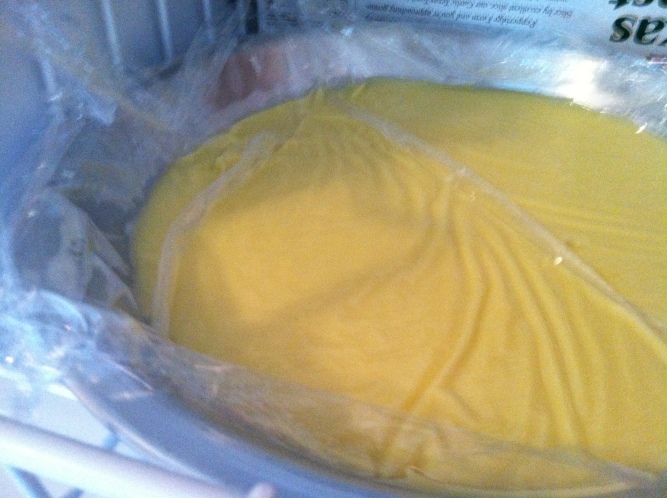
Whisk the egg yolks and remaining sugar in another bowl. Add in some of the hot milk mixture, to temper the eggs and prevent them from doing freaky things like scrambling. Then, add the egg mixture into the milk. Once it all registers at 180 degrees (my brother had a thermometer he used to test this for me, but, Christ, most people aren’t going to go to the trouble, so just guess), pour some of it into a small bowl in the fridge, and the rest into your containers that you’ve had in the freezer. Make sure to cover with plastic wrap.

I don’t know why it’s this complicated, but…just let it freeze for several hours.

ICECREAM9

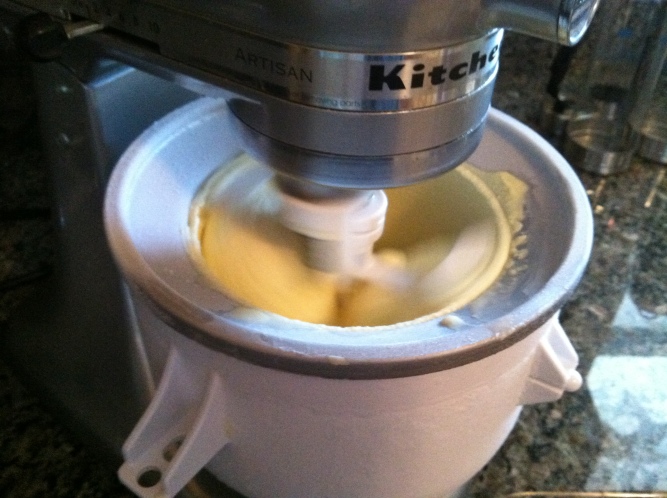
Once the stuff in the freezer is frozen solid, take each container out and mix them all together until smooth. This is somewhat more painstaking than you’d think. Then, put it into your ice cream attachment, which has been freezing, too, and mix it for like 20 minutes, until enough air is incorporated into the ice cream so that it doubles/triples in size.

ICECREAM4

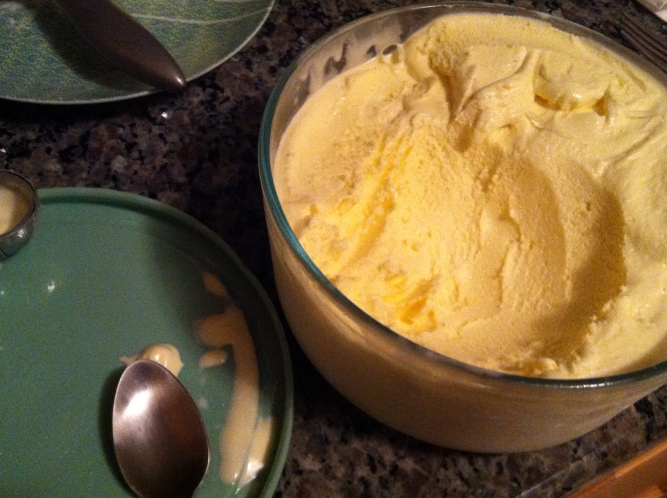
Like the BLOBBBB.

Freeze it some more. Eventually, you’ll be able to eat it. Fuck—I just remembered that we added in more wine at some point. Maybe before you pour the mixture into the containers, add another 1/4 c. Then drink the rest.

ICECREAM8

pretend-healthy comfort food

photo(52)
I haven’t been as diligent about updating this as I’d hoped, but I’m feeling more motivated than I was. So, let’s get to it!

I made this recipe a while ago, and I’ve made it before. I originally got it from an old roommate and college friend of mine, Becca, who really should have her own cooking blog because she can actually cook. The food prep is quick, cook time is less than an hour, and the results are really a crowd-pleaser (I think I’m still in magazine-writing mode from this morning’s internship…I need a beer or something).

I had my friend Stephanie take some lovely photos of this meal, which I cooked for a couple of friends. I also just realized that WordPress provides suggestions of photos from the web to include with each post. Here’s one they suggested for today:

Some chicken, pork and corn in the barbeque

Some chicken, pork and corn in the barbeque (Photo credit: Wikipedia)

You can find a version of the recipe here, which I used as a guideline. I serve this dish—garlic roasted chickpeas and swiss chard—over cheese grits, because they are probably the most unhealthy thing you can make or eat, aside from chocolate cake with icing made of french fries.

photo(49)
Here’s what you’ll need:

  • 2 15oz cans of chickpeas, drained
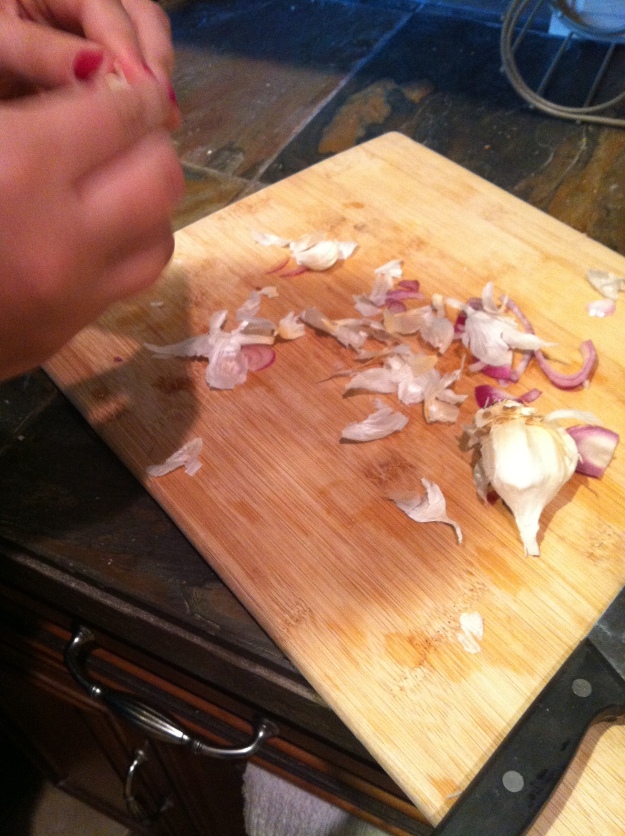
  • 10 garlic cloves, whole and peeled (I cook with garlic so often, I don’t think I’ll ever get the smell off of my hands. Tip: supposedly rubbing your fingers on stainless steel removes the scent.)
  • 3/4 c olive oil
  • 6 minced garlic cloves
  • 4 sliced shallots
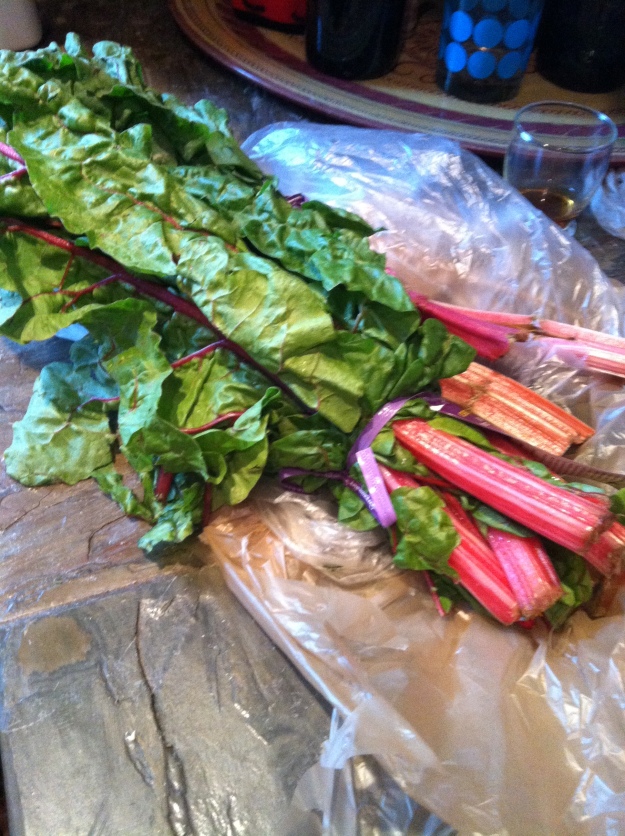
  • 2 bunches Swiss chard (never heard of the stuff? Don’t fret. I hadn’t, either, until a few years ago. I also pronounced quinoa “Kwin-oh-ah” until a few years ago, when someone overheard me and kindly asked if I had been locked in a basement for the duration of my life. Chard is just a leafy green plant that’s used a lot in Mediterranean cooking. It’s a good source of vitamins A, K, and C, as well as fiber and protein. With this recipe, it helps fool you into thinking you’re being healthy.)
  • 1 1/2c vegetable broth

photo(51)
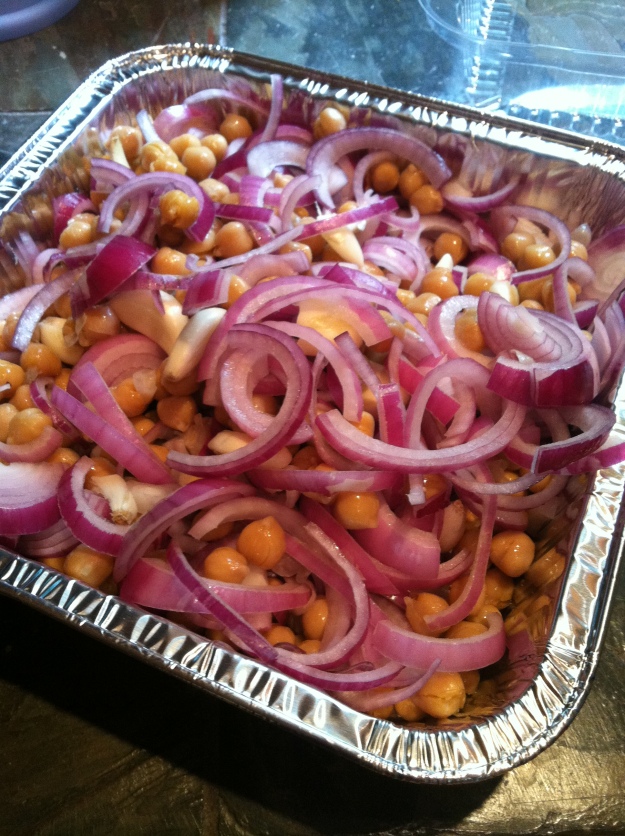
In a baking dish (mine literally won’t fit into my EZ-bake because it’s too big, so I used a small, disposable casserole dish), combine the chickpeas, whole cloves of garlic (peeled—of course), and two of the sliced shallots. Sprinkle with coarse salt and pepper, and then drizzle your olive oil over the concoction. I used my hands to incorporate everything before wrapping it in foil and sticking it in the oven, preheated to 350 degrees. Bake this for about 45-55 minutes, or until the garlic and shallots are nice and soft, like an oven-baked baby’s bottom.

photo(50)
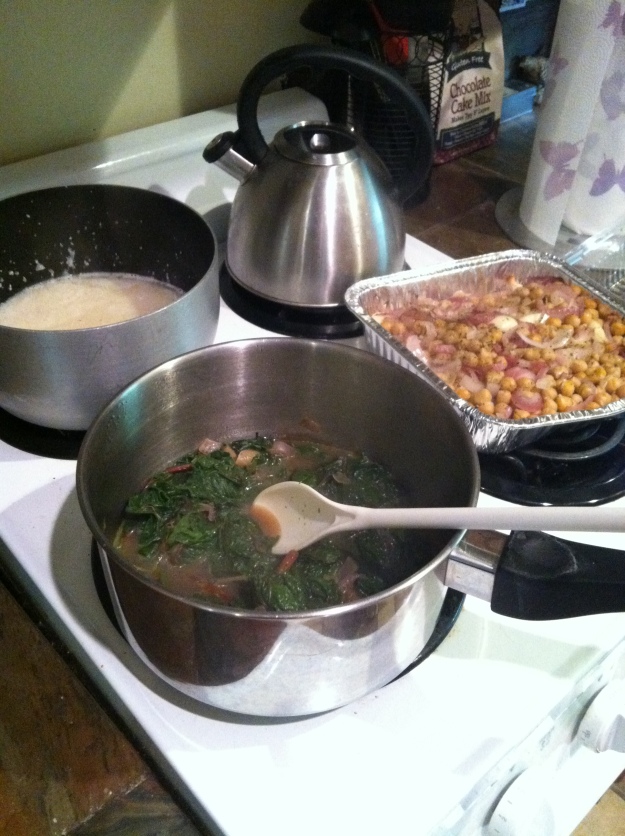
Heat some olive oil in a pot on the stove, over medium heat. I say “some” because only an OCD person would measure for this kind of thing. Add the remainder of your shallots and cook them for about 10 minutes. Add in the Swiss chard, which, I forgot to mention, you need to tear into strips, and let it cook down. Pour the broth over the chard. Since I did not have vegetable broth, I dissolved a veggie bouillon in hot water.

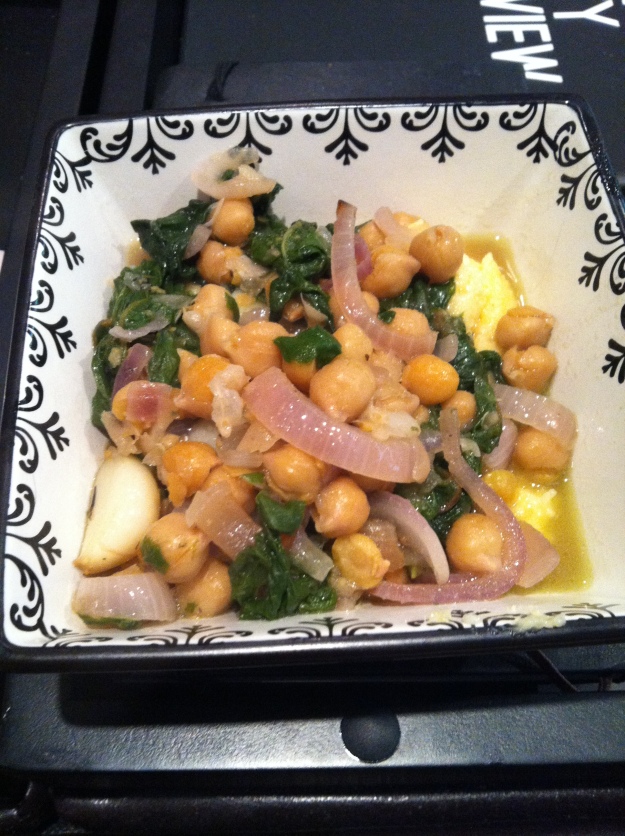
Cook the chard until it looks done. If you have eyes that function, you should be able to tell. Once the chickpeas are finished roasting, add them into the chard and blend. I cooked some grits on the side with sharp cheddar and Monterrey jack cheese and plated the food in bowls—first the grits, then a healthy heap of chard and chick peas.

photo(53)
Next on the cooking to-do list: coffee cake cookies. (So much for cutting out sweets…)

thai, take two

photo

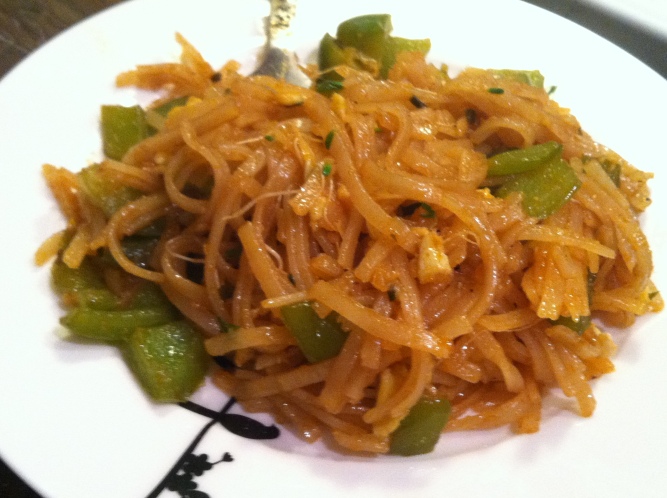
I kind of wish I knew how to add MSG to things, because then this dish might have tasted better. The good thing about it, though, is that it’s a little bit gross, so after one serving you’re good to go and will probably feel nauseated for another hour.

I didn’t follow a recipe this time. Instead, in an uncharacteristic burst of culinary confidence, I winged it. So this shit’s original.

Here are things I purchased at a local, overpriced organic grocery store:

• one green bell pepper
• one shallot (what are shallots? They’re like tiny onions pretending to be garlic. ALSO, I just looked up a picture…are scallions the tops of shallots? My mind is blown)
• one clove garlic
• Pad Thai sauce (premade. That’s right. They don’t call me Sandra Lee for nothin’)
• brown rice noodles
• hydroponically grown alfalfa sprouts (that just means the place where I was shopping is pompous)

Here are things that I used and already had:

• some parsley (to help the plant feel like it has a purpose in the world aside from almost dying and then being brought back to life in a rain shower)
• an egg (you know how you always find pieces of egg in your takeout, and you kind of like it? That’s why)
• olive oil

Boil the nooders. I mean, noodles. Only for like five minutes. Don’t touch them once you drain them because not only are they flaming-lava hot, they’ll also stick to your fingers and continue to burn them even after you shake your hand furiously.

photo

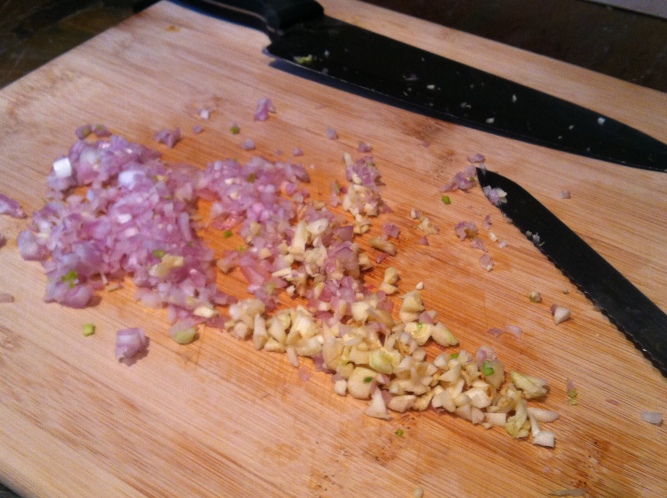
While the noodles are draining somewhere else, pour some olive oil into your pot and add in some minced shallot and a few cloves of minced garlic. You might want to add in a hefty amount or cook them for less time, because as soon as I added in the noodles and other ingredients, the shallot and garlic disappeared. Like, fully disintegrated or something.

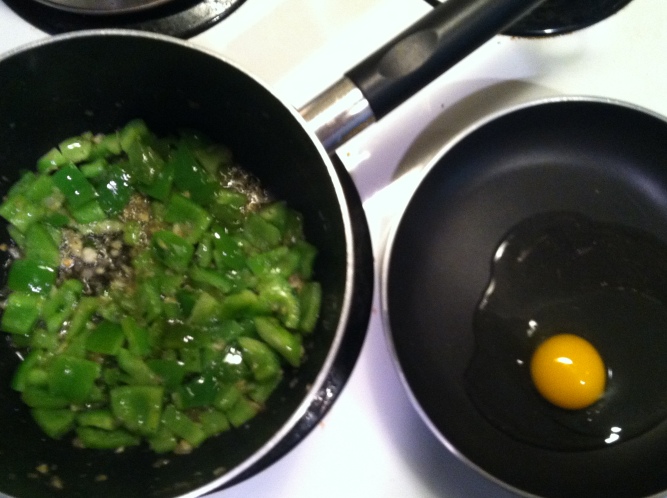
I cooked the minced stuff for about 5 minutes before adding in some parsley, in an attempt to make the dish taste more—fresh? Then I added in chopped green pepper, cooked that for about 5-10 more minutes, and then added in my premade Pad Thai sauce.

photo

Scramble an egg or two in a nearby pan, and kind of overcook it to mimic the chewy eggness found in restaurants. Add the egg in towards the end.

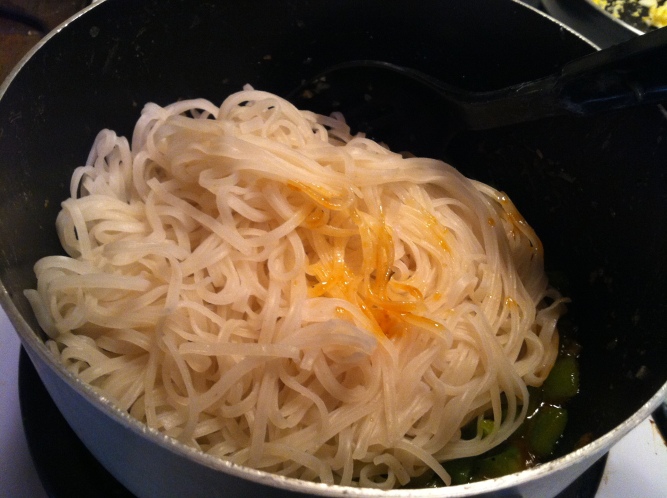
I added in the noodles, which had solidified into a single block much like their original packaged form. This took some finagling to fix. I’d recommend making exaggerated stirring motions with a metal fork.

photo

I tasted the dish, was unimpressed, added in some soy sauce and cayenne pepper, and then decided that I didn’t care. What’s that slightly sweet, slightly tangy artificial taste found in packaged Asian foods? Do you know what I’m talking about, or do I have a brain tumor? I can’t get that taste out of my mouth.

Top the dish with your alfalfa sprouts, which I can only assume are the same thing as bean sprouts. I now have no money and way too many bean sprouts. I don’t recommend adding chopped peanuts, and here’s why:

A list of things that peanuts belong with

1. Jelly, when they’re mashed up
2. Elephants in a circus
3. Raisins and other nut varieties in trail mix
4. Chocolate, on top of them
5. Whatever’s in a Snickers bar

A list of things that peanuts do not belong with

1. Anyone with a peanut allergy
2. Strangers’ greasy fingers when the nuts are sitting in a communal trough at a bar
3. The travesty that is circus peanuts, which don’t actually contain peanuts—just Styrofoam
4. Small, dumb things like children who choke easily
5. Savory dishes, such as noodles

So, please, forget the peanuts, unless you like an unexpected and horrifying crunch that is impossible to extract with any utensil, fingers included. They’re almost as bad as raisins in cookies or bread pudding, but that’s another post entirely…

why buy caramel when you can be pretentious?

photo

I like baking things to give away. The reasons? One, receiving something delicious and homemade thrills even the grumpiest people (unless they’re anorexic), and two, I won’t eat all of it in one sitting.

So, I decided to bake brownies for a friend. But not just any brownies—smitten kitchen’s salted caramel brownies. I wanted something a little unique, and I’m discovering more and more that sea salt is the perfect addition to any otherwise-too-sweet dessert.

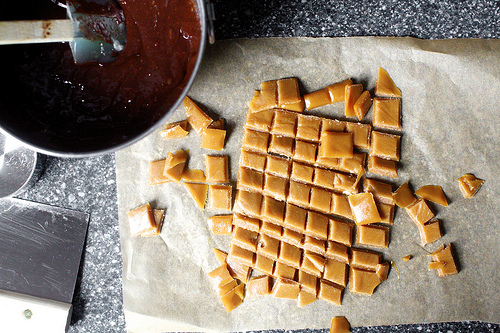
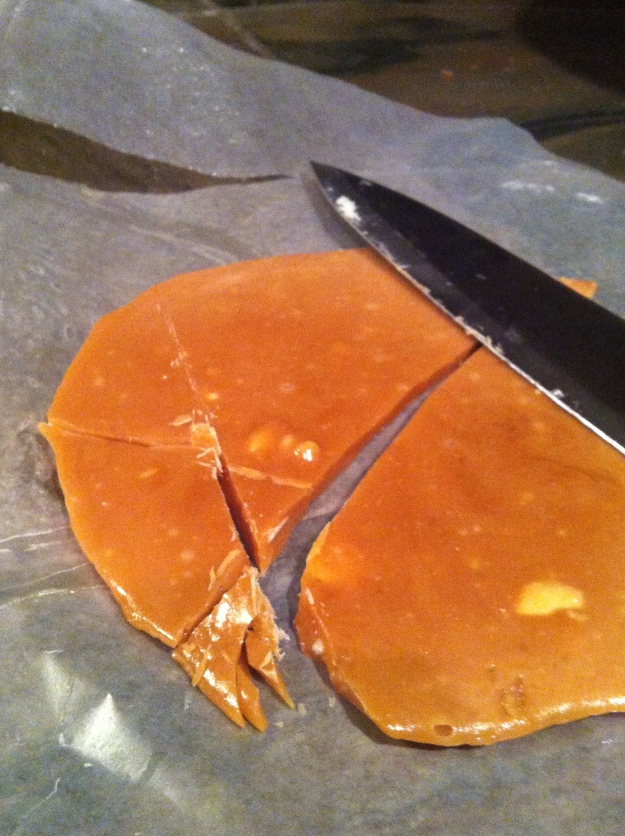
The source blog includes tasteful photographs of perfectly sliced caramels and comments about the caramel being “really easy to make.” For an experienced food blogger, yes. For someone with spastic hands and zero patience? Not quite.

I kind of fucked a few things up. Like, the process of cooking and slicing the caramel was a total bitch. I didn’t think I’d make it through—kind of like when I’m in hot yoga trying to bend my torso backwards and feel like I might vomit. But, just like in yoga, I persisted and finished the job without throwing up. Or farting in front of a bunch of people.

photo

Here’s how to make the caramel:

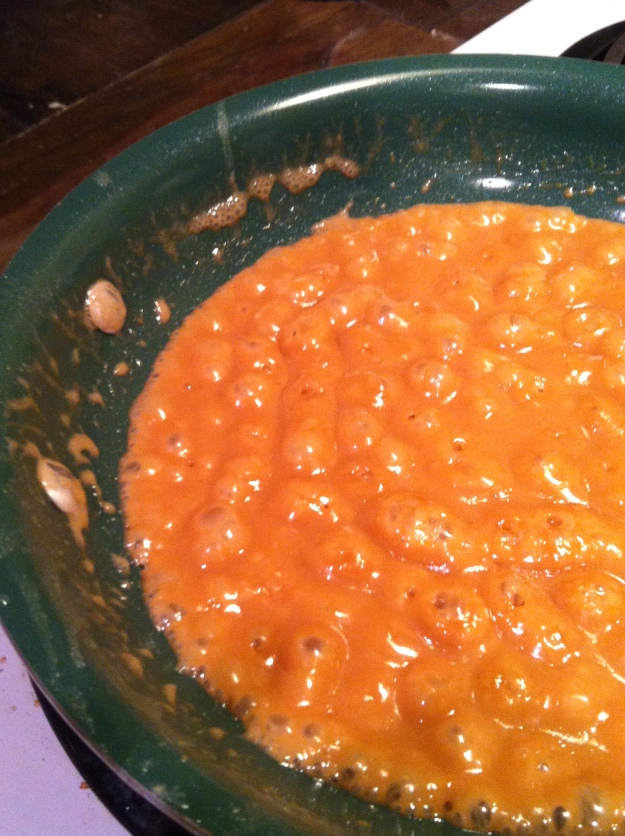
Prepare a medium-sized plate for the caramel with a square of parchment (I used wax) paper sprayed in cooking oil. Melt 1/2 c sugar in a dry pan until it’s liquid and caramel-colored. This could take a few minutes. Then, stir in 4 tbsp. unsalted butter.

And so begins the endurance test. You’ll immediately think to yourself, Why, I can’t stir in this butter! The sugar has solidified into immovable clumps! Ignore the protesting thoughts of your rational mind, and add in 1/4 tsp. sea salt and 3 tbsp. heavy cream (I used whipping cream…I’m gonna go out on a limb and assume they’re pretty much the same thing).

photo

This will all melt together, eventually, but the process blows major dick. I started trying to un-stick the sugar from the bottom of the pan and ended up flinging droplets of boiling-hot butter all over myself (I wasn’t wearing an apron—I don’t own one). The sugar became one with my plastic spoon, so I switched to metal, which attracted the remaining clumps of sugar like a magnet and quickly became too hot to hold.

Sometimes I wonder about my brain.

My tip is to use a rubber spatula, if you have one. Once this bullshit finally liquifies, and it will, pour it onto your parchment paper and freeze it for about 20-30 minutes. Don’t freeze it too long, or it will shatter (I’m speaking from experience, which I’ll expound upon later).

While your caramel’s hardening, you can gather the stuff for the brownie mix:

• 3 oz. unsweetened chocolate (I used bittersweet and cut down on the amount of sugar I used by about a third)
• 1 stick unsalted butter
• 1 cup sugar
• 2 eggs
• 1 tsp. vanilla
• 1/4 tsp. sea salt
• 2/3 c all-purpose flour

Preheat your oven to 350 degrees. Line an 8×8 pan with parchment paper, or, if you don’t have any (I’ve learned my lesson about putting wax paper in the oven…), just grease the shit out of it. That worked fine for me.

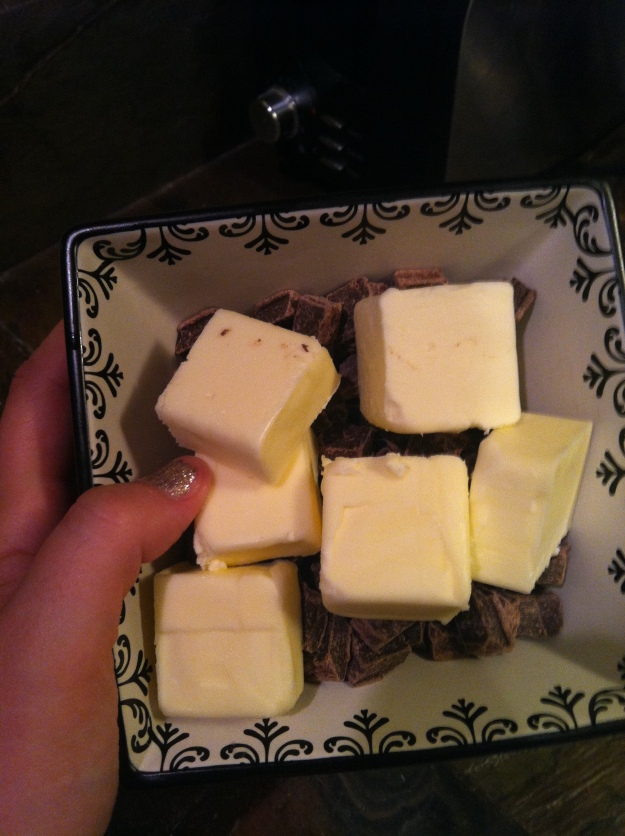
Melt the chocolate and butter together. I simply stuck them in the microwave for two 30-second sessions, stirring in-between. You can also heat them in a heat-proof bowl over hot water, but I think that sounds too labor intensive.

photo

I snickered to myself when I looked in this bowl. It’s like Paula Deen’s version of cereal (JK Paula—I ❤ U!)

Once the chocolate is melted and fully incorporated with the butter, add in your sugar, then each egg one at a time (why? I don’t know. Just do it), then the vanilla and finally, salt. Stir in the flour slowly until it’s all nice and smooth, like poop the morning of a wine hangover.

Uh…

Chop the caramel into 1-inch squares when it’s firm enough. The squares on smitten kitchen’s blog are, of course, perfect. But as soon as I pushed my knife into the sheet of sugar, it cracked like glass.

See if you can guess which one is hers and which one is mine:

smitten

photo

Well, fuck it! That’s my motto. Just break it up into little pieces and stir these into the batter. Save some to place on top. Pour the batter into your greasy pan, top it with the remaining caramel chunks and maybe a few pinches of sea salt for good measure, and bake for about 25-30 minutes.

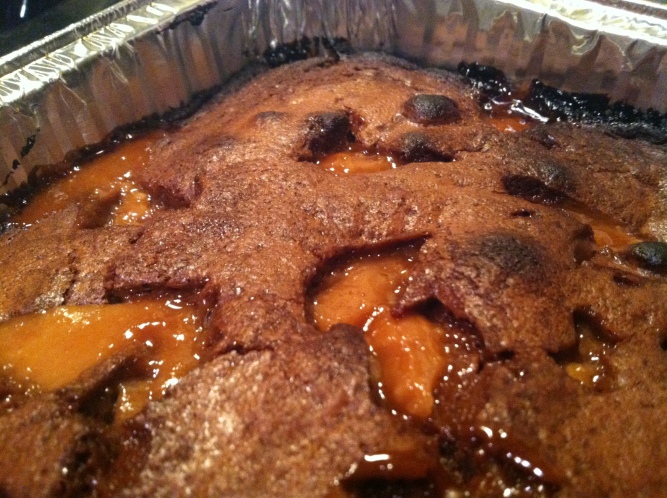
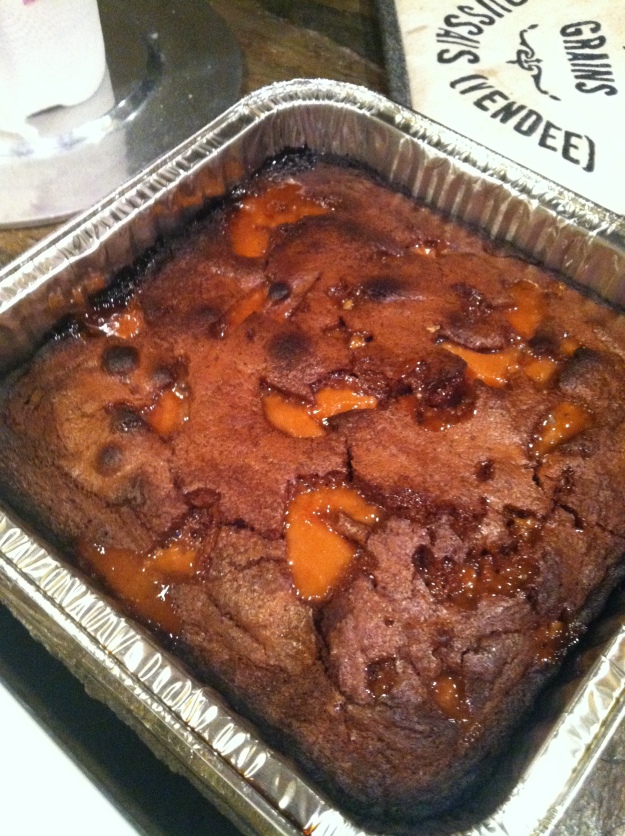
Not surprisingly, my god-forsaken EZ-Bake burned the edges for no reason.

photo

photo

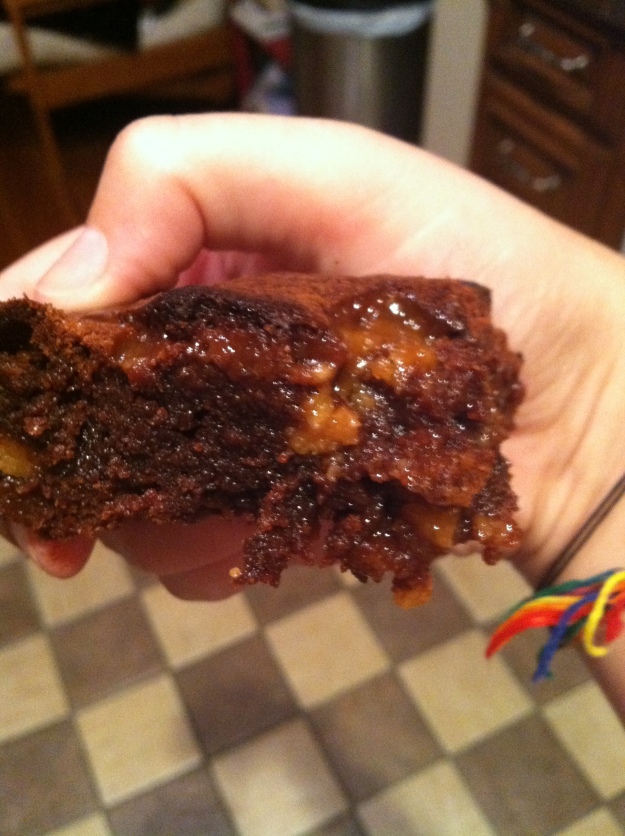
You’ll want to refrigerate the brownies before trying to cut them. Even though these are a gift, I tried a bite…which turned into a corner…despite the burned bits, these brownies are a major winner. Salted caramel should be on everything—that’s my takeaway.